Introduction
When people see this swirling underwater world on the Axosoft’s GitKraken.com page, they think we went deep sea diving to capture the footage. That was the intention: create an entire, abstract world–one where a kraken might hang out–to introduce our new git client (that doesn’t suck). “Ink Drops in Water” is the name of this video background and the two things people always ask after they watch it is, “How did you make those videos?”, and “How did you talk your company into letting you do that?”
When we pitched the idea to our CEO, Lawdan Shojaee, she said, “Go for it!” Originally, she had asked our creative team (Justin Roberts, Christina Lopez, and myself, Shane D Rymer) to come up with something “totally different” to help market the beta launch of our new product, Axosoft GitKraken (GK). Lawdan’s positive response was not a surprise because at Axosoft, we aren’t afraid to take risks, in fact, it’s one of our company values. For us, creating original artwork is not only a smart risk because it reflects sincerity to our customers, and therefore, trust, but it also demonstrates our support of the ‘A’ for ‘Arts’ in the STEAM fields, an educational initiative that we are passionate about.
If some companies are wary of artwork, it may be that creativity is difficult to grasp and its results are unclear. Perhaps then, a better understanding of the process and impact of creative work, would encourage companies to take more creative risks. I hope sharing how we created the “Ink Drops in Water” video, gives you some insight into the creative process and also inspires some ideas. You may even want to join our team!
Concept and Development
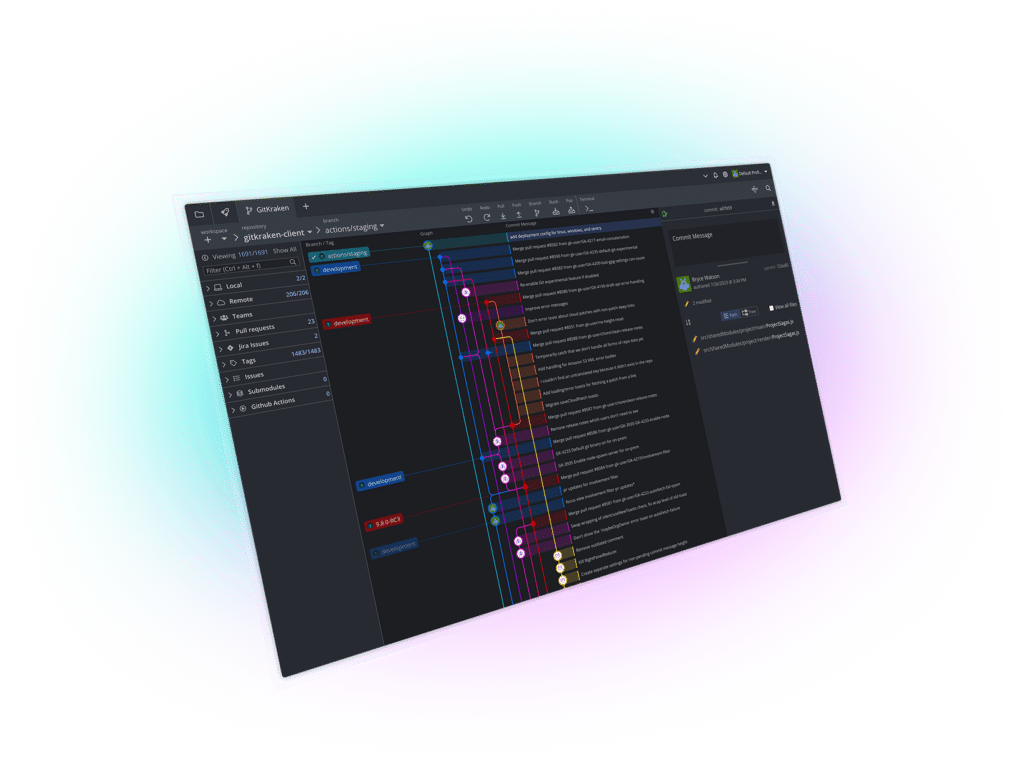
We began by learning about Git and working with GK (by we, I mean, Christina and I because Justin is actually the UX designer for GK). One thing that immediately stood out was the colorful graph.

The graph is really at the heart of GK as it illustrates version history in a fresh and clear way. We knew we wanted to do something similarly visual and dynamic. Playing on the theme of the mythical squid-beast, we had the idea of ink in water. After experimenting with this medium, we discovered that ink intricately branches as it moves through water.

An initial test with blue ink in water
We also observed that when different inks mix, patterns emerge. The blending of these fields of color is a perfect metaphor for version control. Our idea was to create a new way of understanding basic Git actions such as: push, pull, commit, and merge, with the evolution of hues through space and time.

Ink that collected on the side of the container during testing
Pre-Production
A space, that’s all we needed, and maybe some ink. At Axosoft, we have spaces called ‘Flex Rooms’ which can be used for just about anything we need. We converted one into a temporary production studio.

Converting a Flex room into a production studio
We set up a couple of tables, one for materials and the other for filming. We each brought in some glass containers from cylindrical vases to spherical bowls, but ultimately, our main container was a small fish tank placed beneath a portable product light studio. I was particularly excited for this project because Axosoft had just purchased a Panasonic Lumix GH4 Camera for me to use in my video projects (yes, I’m a video nerd, and yes, Axosoft hooks us up with the best equipment so we can do our best work). The GH4 can capture Cinema4k (4096 pixels in width by 2160 pixels in height) footage at 100 Mbps! I knew from our testing, that the depth of field would be very shallow and that we would need a way to accurately focus. Also, the three of us needed to see the footage in real-time, without having to crowd around a 2.5” LCD on the back of the camera. The solution was to run a video feed from the camera to an HD monitor. For our shot setups, we used the tick marks on a metallic ruler for focus and depth. In the image below, you can see in the monitor that we were zoomed to about a one inch vertical span.
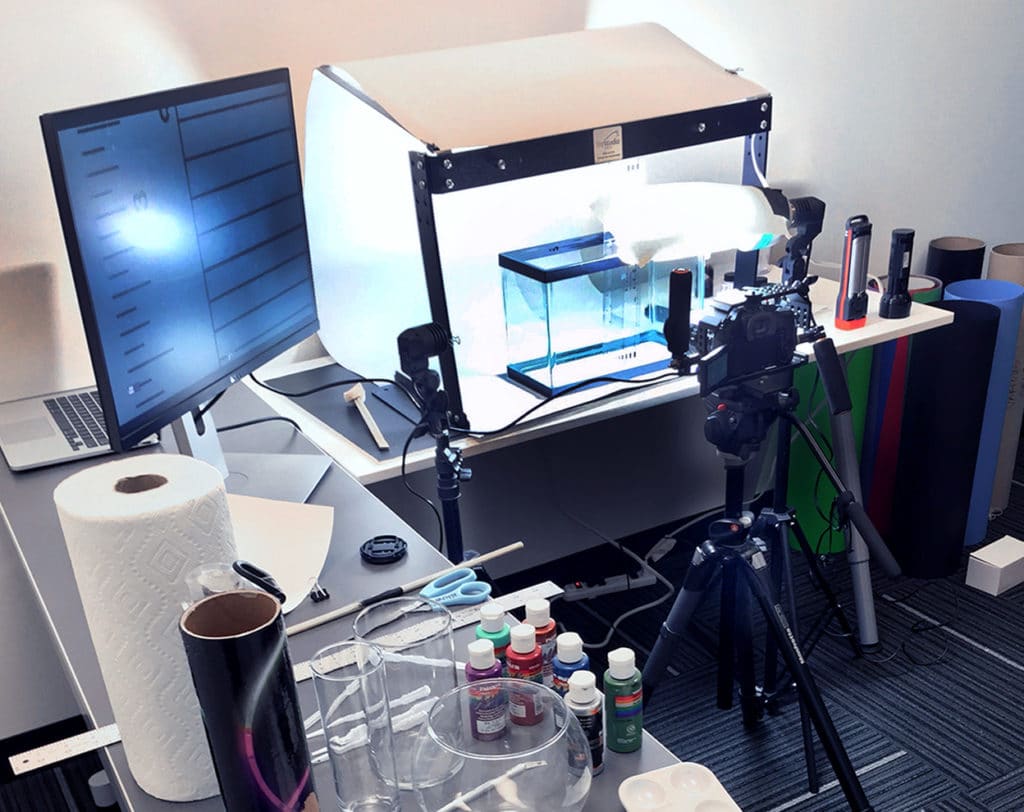
The Flex room production space
Although we had some idea of how to film the ink, we experimented with some basic drops to get a general idea of how the ink moved.
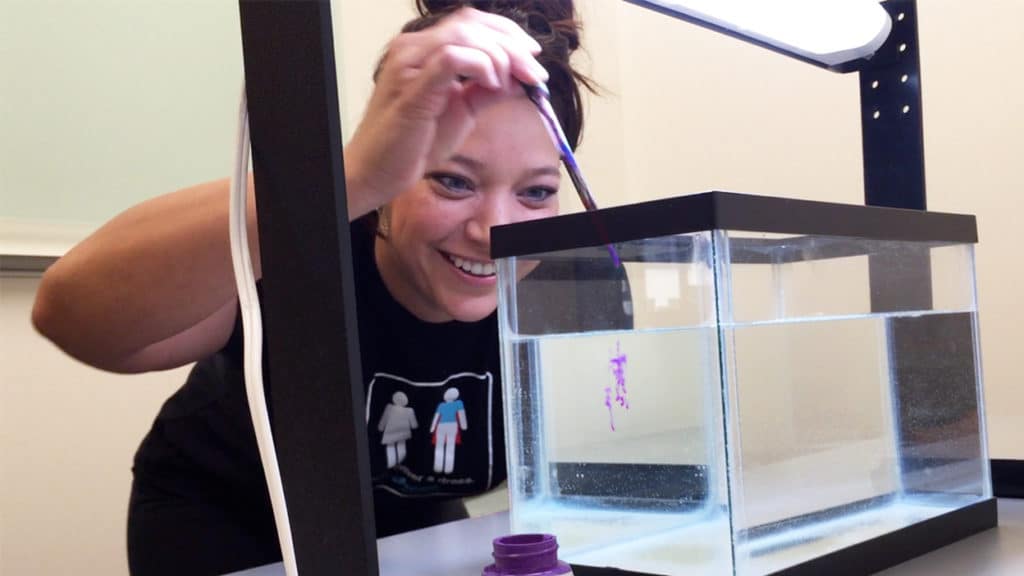
Christina experimenting with purple ink
We sketched the different kinds of movement and considered frame rates and compositions.
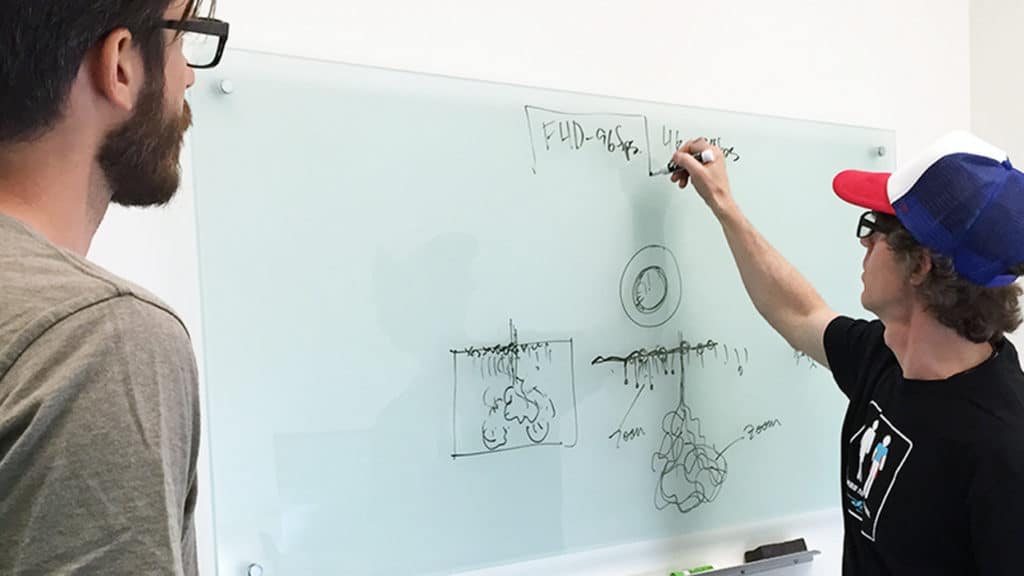
Justin (left) and Shane (right) discuss how to shoot the ink
Once we had all the materials and equipment setup, we were ready to start video capturing.
Production
There were so many factors that could be combined to create an infinite variety of footage, such as: the shape of the container, cold vs. hot water, still vs. moving water, the color and type of ink, the manner in which the ink is injected, lighting, composition, frame rate, angle, lens type, focus… so many possibilities, it was mind blowing! So, we just dove right in. I pressed the record button and Justin added one drop of blue ink to the water.
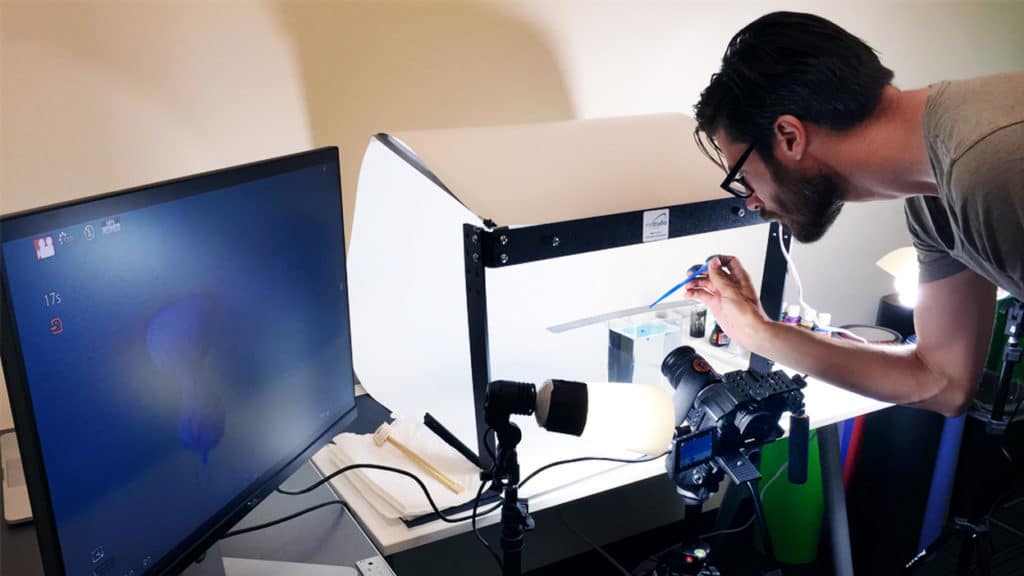
Justin drops the first recorded ink
We filmed it from underneath so that we could see the bottom of the water’s surface and how it actually dropped into the water. Cool, but too fast for our frame rate.
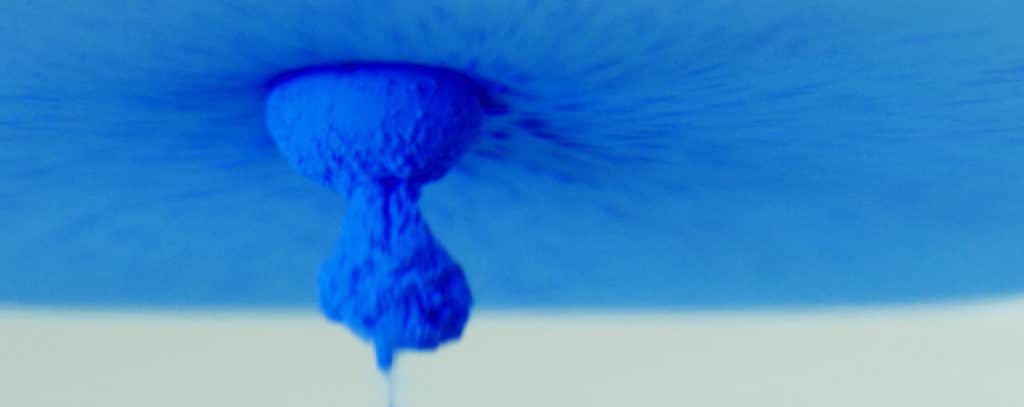
A frame from the actual footage of the first drop of ink
We spent the next 4 hours filming and produced about 120GBs of 4k footage. The following series of images shows us adding inks to the side of the tank and filming as the ink slowly dripped down the side. We loved the stripes, so we filmed this effect for fifteen minutes.
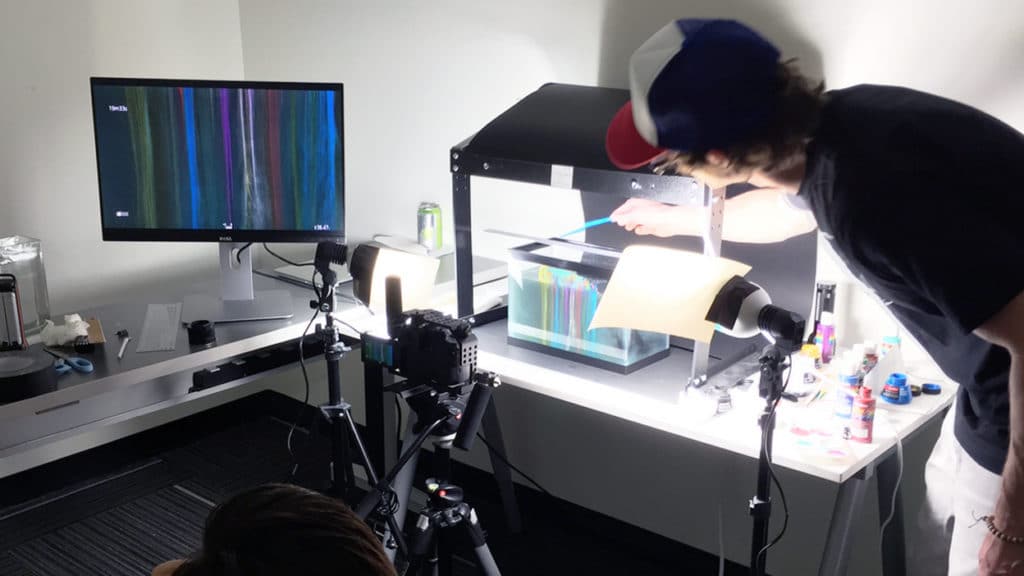
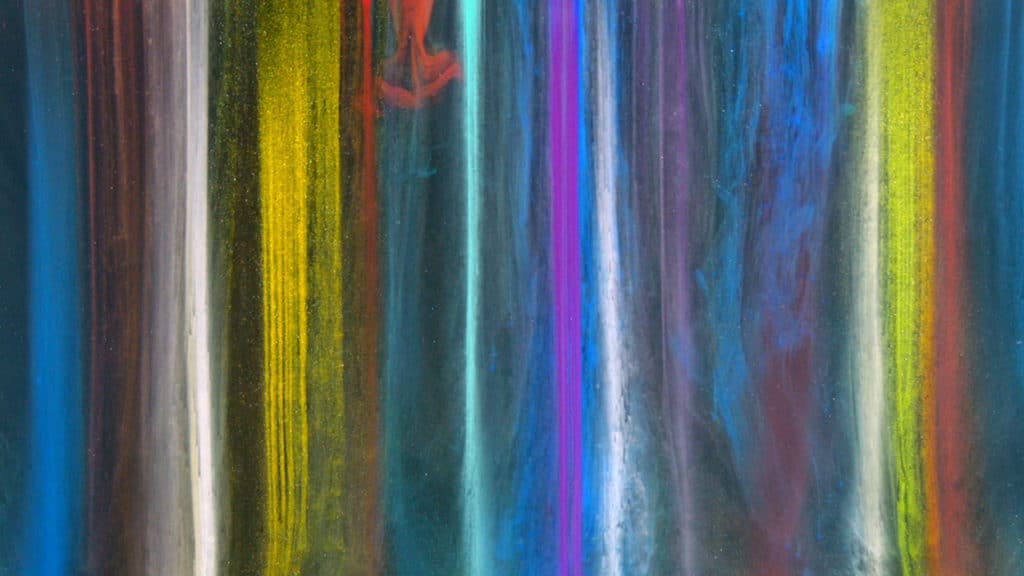
A frame from the video captured in the previous image
We would watch the monitor to decide if we should continue in a particular direction or whether we just should cut and try something different.
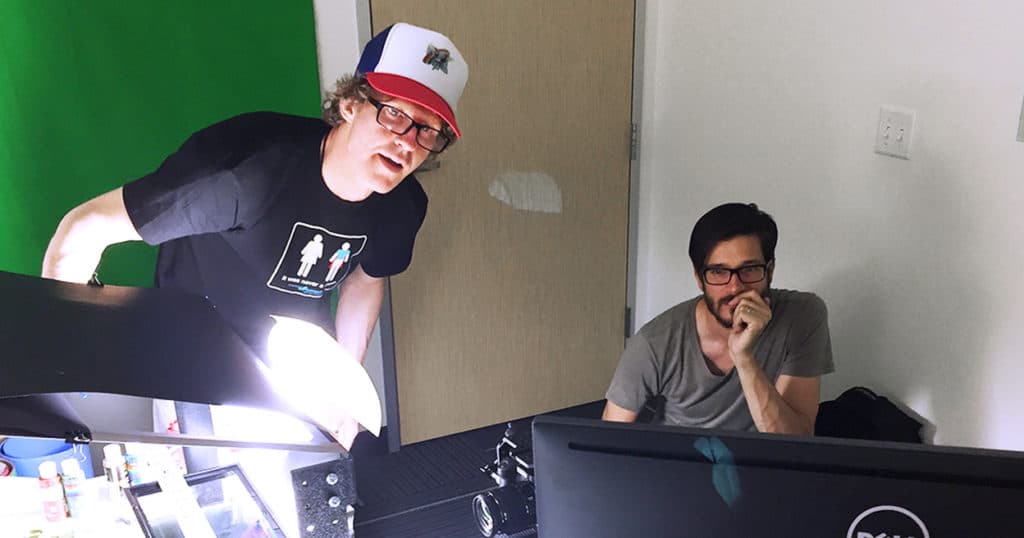
Justin and Shane discuss what to do next
In between shots, we would have to wash the tank out completely, dry it, and make sure the tank was free of fingerprints. Then, we would refill the tank and carefully place it back under the studio lights. This process was literally rinse and repeat.
Post-Production
I spent about three times longer in post than in production, and honestly, a blog could be written just about how I edited the videos. But the short of it is that once the footage was captured, I transferred it to a drive and then imported to Adobe Premiere. I cut the best footage into a twelve-minute video. We reviewed this long video, and then I re-cut it based on the best of the best of those shots which turned out to be about 1.5 minutes of video.
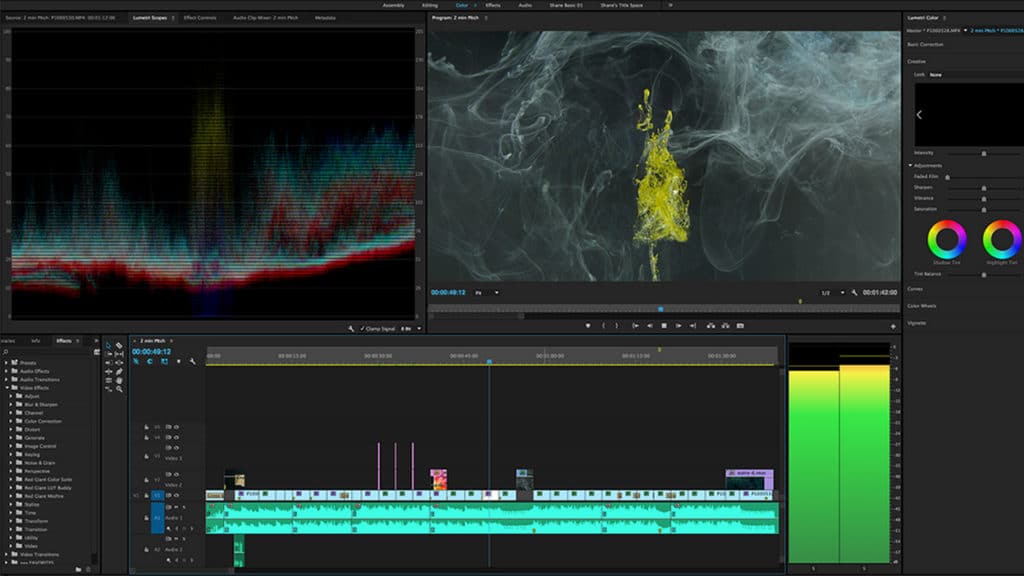
My workspace in Adobe Premiere
Next, I incorporated motion graphics using Motion 5, that drew metaphoric connections between the basic Git commands and the ink. For example, when the ink was swirling, the colors would blend horizontally, which is very similar to what happens when one branch merges with another. I combined that footage with a typographic play of the word ‘Merge’ blending chromatic aberrations of itself.

Since the graph actually forms upward, I vertically flipped the video footage so that the ink appears to be moving opposite gravity which adds an interesting and unexpected dynamic to the movement. Using elements from the GK user interface, I made a connection between a “Pull Request” and one dot of ink.
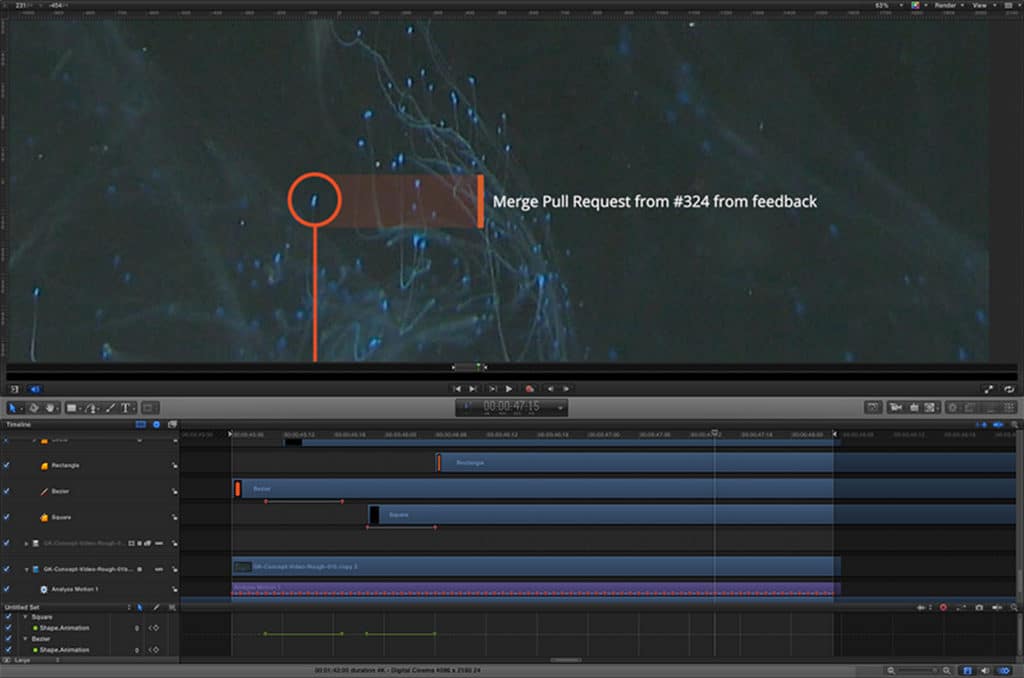
I continued drawing metaphoric connections between Git concepts, GK user interface elements, and the ink footage until the video was complete.
Distribution
The final stage in the process was to connect the video to the website. For this, I had to reduce the footage to about 30s in length. The Cinema4k footage at 4096 pixels by 2160 pixels was resized to a .mp4 just under 1280 pixels by 720 pixels which reduced the load size by 85%.
That’s a Wrap!
Thanks for reading about how we created the videos for Axosoft’s GitKraken.com’s background. Check out the project as a looping 4k video. Again, I hope it inspires some ideas and encourages you to take more design risks. And if you’d like to take some of those creative risks with us at Axosoft, we’re always looking for talented people to make a “dent in the universe” with, so check out our available positions.
 GitKraken MCP
 GitKraken Insights
 Dev Team Automations
 AI & Security Controls


