Before Git pull requests existed, developers created Git patches to share their code with team members and project collaborators. Git patches are text files that contain code and Git commit metadata. Creating a Git patch is, in essence, copying and packaging up your work to send to someone else. Applying a Git patch involves taking someone’s work and adding it to your local Git repository.
In this article, we’ll cover how to create and apply a Git patch using the CLI and GitKraken Client.
- History of Git Patches
- Git Create Patch
- Git Apply Patch
- Git Patch Format
- Git Create Patch in the CLI
- How to Git Apply Patch in the CLI
- Git Create Patch with GitKraken Client
- How to Git Apply Patch with GitKraken Client
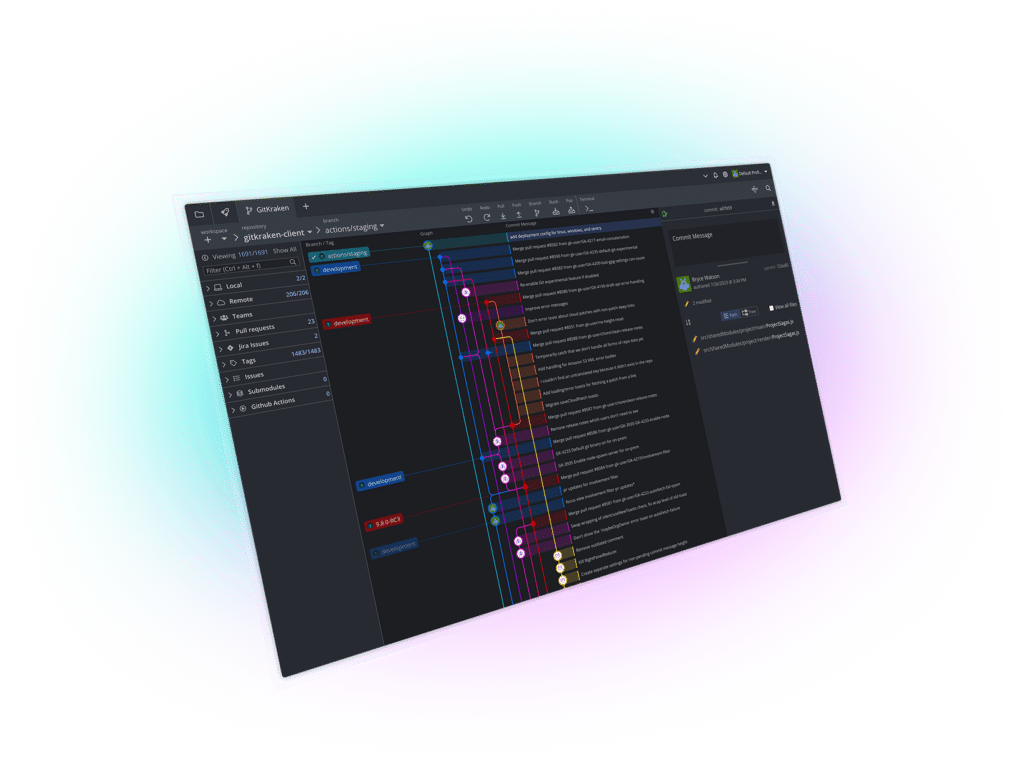
Quickly create and apply Git patches in GitKraken Client using the built-in CLI, command palette, or with a few clicks from the commit graph.
A Brief History of Git Patches
In the early stages of Git, developers shared their code by creating Git patches and sending them to their colleagues via email. At that time, Git pull requests didn’t exist like they do today, and Git patches were the best available option for sharing code.
While it’s certainly more common now for developers to use pull requests to share code, there are still a few well-known projects that use Git patches. The Linux Kernel, Drupal, and Git projects frequently utilize Git patches. Projects that use Git patches today generally do so give project maintainers the ability to extensively review the changes in each Git patch before applying the patch, which adds another layer of security.
Git Create Patch
To create a Git patch, you can run a variation of the git format-patch command depending on if you’re creating a patch for a single commit or from a Git branch. Once your Git patch has been created, you can send it, usually via email, to your team members for them to apply to their codebase
Git Apply Patch
To apply a Git patch, Git checkout the commit or branch where you want the changes applied, and then run the following command in the terminal:
git apply <.patch file>
While applying patches may take more time than other Git actions, the value is being able to add someone else’s work to your repo rather than having to write the code yourself.
Git Patch Format
The git format-patch command is used to create Git patches from the terminal. The basic syntax for this command looks like:
git format-patch <commit SHA or branch name>
Visit Git’s official website for more information and variations of the Git patch format command.
Git Create Patch in the CLI
Before you can create a Git patch from CLI, you’ll need to determine what file(s) you want to include in the patch. This will determine which variation of the git format-patch command you will use to create the Git patch.
Git Create Patch from a Single Commit in the CLI
To create a Git patch that contains information from a single Git commit, take the following steps:
- Type
git login the terminal and hit Enter to obtain the commit SHA of the commit you want to create a patch for. - Once you have the commit SHA, run:
git format-patch -1 <commit SHA> -o <name of the directory you want the patch saved to>
All of the changes included in the commit you selected will be packaged into a Git patch that you can then send to other collaborators.
Git Create Patch from a Git Branch in the CLI
You can create a Git patch from a Git branch by performing the single step outlined below:
- Type
git format-patch <branch name> -o <name of the directory you want the patch saved to>in to the terminal and hit Enter
This will create a Git patch that contains all of the information held on that Git branch including commits, diffs, new files, and any other changes.
How to Git Apply Patch in the CLI
To properly apply a Git patch in the terminal, you will need to perform the following steps:
- Git checkout the associated commit or branch you want the patch applied to
- Run the command:
git apply <.patch file>
The changes contained in the patch file will then be reflected in your local repository. You can now move on with your workflow knowing that your local repository is up to date with other project collaborators.
Git Create Patch with GitKraken Client
There are a few simple and intuitive ways to create a Git patch with GitKraken Client. Similar to creating a Git patch in the CLI, the way you create your Git patch depends on what type of files and how many you want to create a patch for. No matter how you create your Git patch, it’s easier with GitKraken Client, try it now for free.
Git Create Patch from a Single Commit with GitKraken Client
If you want to create and send a Git patch that contains information from a specific commit using GitKraken Client, take the following steps:
- From the central commit graph, right-click the commit you want to create the patch from
- Select Create patch from commit from the dropdown menu
- GitKraken Client will prompt you to save the patch to a specified location on your computer
Git Create Patch from Multiple Commits with GitKraken Client
To create a Git Patch that contains information from multiple commits, take the following steps:
- Hold Shift or Cmd to and select the commits you want to create the patch from
- Right-click one of the selected commits and select Create patch from commits from the dropdown menu
- GitKraken Client will prompt you to save the patch to a specified location on your computer
Git Create Patch from a Single Uncommitted File with GitKraken Client
To create a Git Patch that contains information from a single file that hasn’t been committed, take the following steps:
- From the commit panel located on the right side of GitKraken Client, right-click the uncommitted file you want to create the patch from
- Select Create patch from file changes from the dropdown menu
- GitKraken Client will prompt you to save the patch to a specified location on your computer
Git Create Patch from Multiple Uncommitted Files with GitKraken Client
In order to create a Git patch from multiple files that haven’t been committed, take the following steps:
- From the commit panel located on the right side of GitKraken Client, hold Shift or Cmd to select the uncommitted changes you want to create the patch from
- Right-click one of the uncommitted changes and select Create patch from changes in # files from the dropdown menu
- GitKraken Client will prompt you to save the patch to a specified location on your computer
Git Create Patch from all Working Directory Changes with the Command Palette
Follow the steps outlined below to use GitKraken Client’s Command Palette to create a Git patch from all your working directory changes!
- Access the Command Palette either by selecting the magic wand icon 🪄 or using the keyboard shortcut Cmd + Shift + P
- Type patch into the Command Palette
- From the dropdown select Create patch from all working directory changes
Creating and applying Git patches isn’t a common workflow and can be intimidating when trying it for the first time. GitKraken Client makes working with Git patches simple, intuitive, and painless.
How to Git Apply Patch with GitKraken Client
GitKraken Client requires that patches be applied via the command palette. To apply a patch, perform the following actions:
- Git checkout the branch or commit you want to apply the patch to
- Access the Command Palette by selecting the magic wand icon 🪄 or by using the keyboard shortcut Cmd + Shift + P
- Type patch into the Command Palette
- Select Apply patch; this will open your file explorer
- From your file explorer, click the .patch file you want to apply and select Open
The Git patch will be applied to the branch or commit you have checked out and you can continue with your workflow.
Git to Patching!
Congratulations! Now you know how to create and apply Git patches using the CLI and GitKraken Client. This newly acquired knowledge opens the door for you to start contributing to open source projects and private repositories that use this unique Git workflow.
Developers that know how to confidently use Git patches are pretty rare and incredibly helpful to have on any team. Combine your knowledge of Git patches with GitKraken Client to make creating and applying Git patches faster and easier! Download GitKraken Client for free today.
 GitKraken MCP
 GitKraken Insights
 Dev Team Automations
 AI & Security Controls


